


Sakai Tutorials
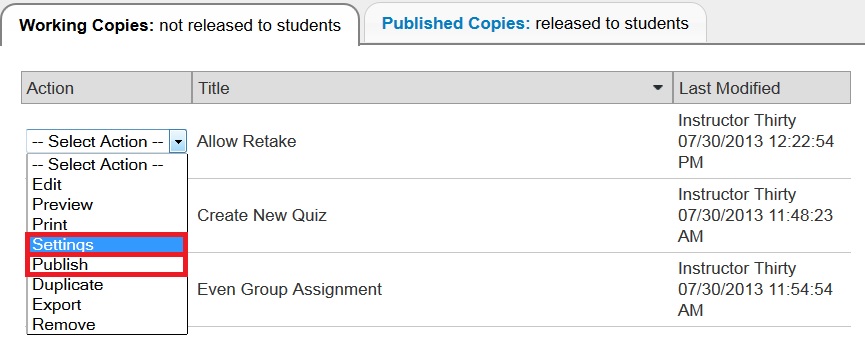
Modifying Tests & Quizzes SettingsAssessment settings can be viewed after the test has been created or during the process of creating a test. In most cases and instructor will develop a test, but not publish the assessment until a future date. In that situation, you can use the “--Select Action--” drop down menu to choose either Settings or Publish to view the settings. Alternatively, when you create an assessment or publish an assessment you will have the chance to review settings.
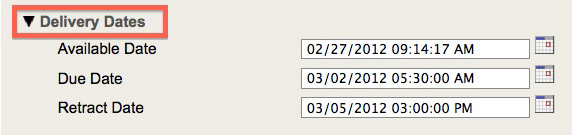
Setting Due Dates and Retract DatesWhen you retract an assessment, it remains under "Published Assessments", but moves from the "Active (testing in progress)" section to the "Inactive (no student access)" section. If there is not a retract date a student will see the title of the test and depending on your feedback settings could go back and review their assessments. Due dates represent when the assessment is due, but students will have access to their assessment feedback until the retract date. The retract date removes the link to the assessment and by default will not allow students to review their test or re-submit. If you set up a due date, but will accept assessments late then you need to set your retract date after the due date. Plus, you need to modify the settings for Submissions to accept assessments late.
1. From the settings click on Delivery Dates.
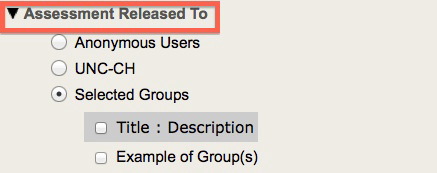
Assign Assessment to Groups
1. From the settings click on Assessment Released To.
Timed Assessments
1. From the settings click on Timed Assessments.
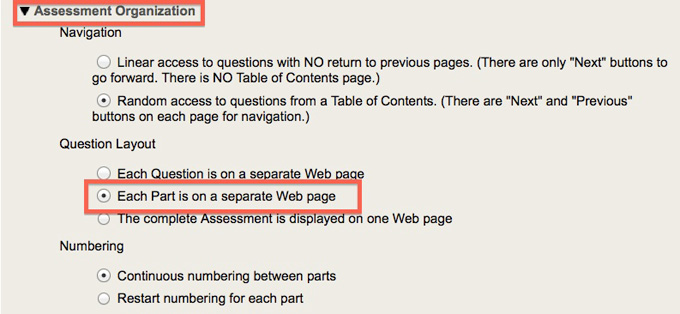
Assessment LayoutIt is recommended to have each part display on a separate page or each question on its’ own page. If it is a short assessment then it might be appropriate to have all the questions displayed on the same web page.
1. From the settings click on Assessment Organization.
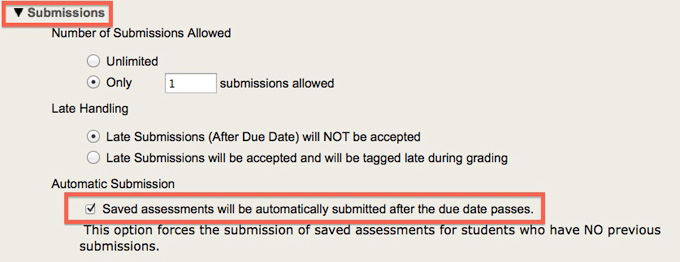
Allowing Re-submissionsRemember, if you set your feedback options to allow students to view their choices and the correct answer upon completing their assessment plus you allow them to resubmit an assessment then you have essentially given your students access to the answer key. They can review the feedback and correct answers then go back and retake the assessment.
1. From the settings click on Submissions.
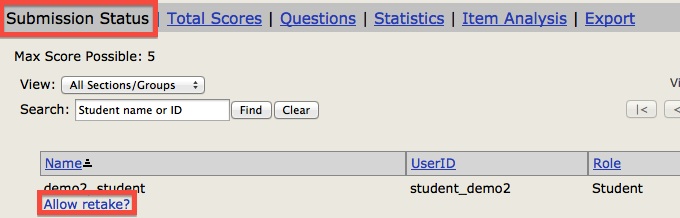
Allow student(s) to re-take assessment after the due dateIf you want a student to re-take a test after the due date then you may need to modify some of your test's settings. You have to set up a Retract Date for a future time and also accept tests after the due date. Now, students can re-take the test prior to the Retract Date.
4. If the student took the assessment or missed the due date then view assessment scores.
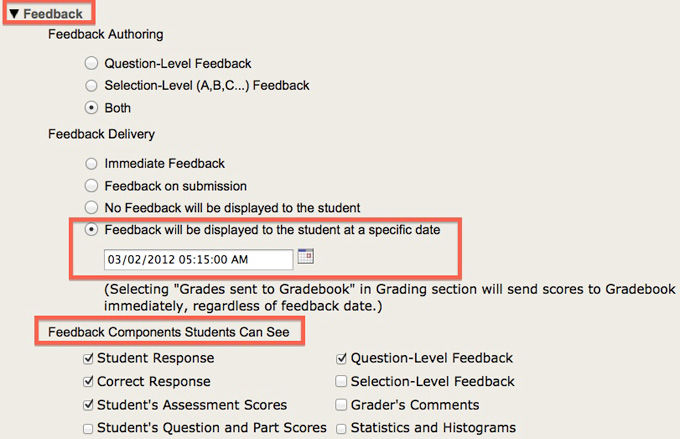
Feedback Settings
1. From the settings click on Feedback.
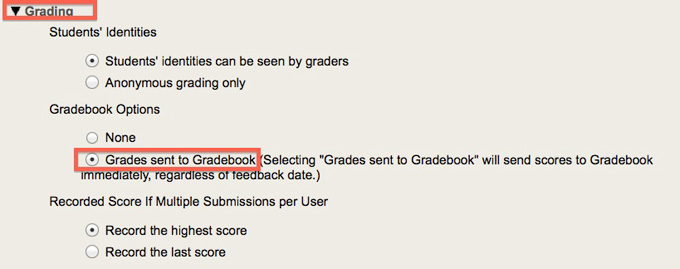
Sync with Gradebook
1. From the settings click on Grading.
|

| Sakai home | policies | maintenance | Sakai tools |
© 2015 The University of North Carolina at Chapel Hill Sakai Tutorials by University of North Carolina at Chapel Hill is licensed under a Creative Commons Attribution-Non Commercial-Share Alike 3.0 Unported License. |